In plain English, BCBC Part 9 spatial separation is the rule that limits what you can put on an exterior wall, especially windows and doors, when that wall is close to a property line or another building. The closer you build, the more the Code pushes you toward fewer openings and more fire-resisting construction. The smartest move is treating this as an early architectural design checkpoint, not a late “permit fix.”
Homeowners usually discover spatial separation after they’ve fallen in love with an elevation. Big side-yard glazing. A garage pushed tight to the line. A laneway building tucked close behind. Then the permit review forces changes you didn’t budget for, or didn’t want.
This guide gives you the homeowner version. You’ll understand the 3 inputs that drive most outcomes, how spatial separation changes your design, and how to avoid the classic permit-stage redo.
What Spatial Separation Is Trying To Prevent
Spatial separation exists for one reason: to reduce the chance a fire spreads from one property to another, or from one building to the next. It’s a life-safety concept, not an aesthetic preference, so it tends to win when there’s a conflict.
That’s why it shows up as “hard limits” on certain walls. If a wall is close to a property line, the Code treats it as a higher exposure risk. The strategy is simple: reduce the chance flames or heat break through that face and ignite something nearby.
The practical takeaway is also simple. Some walls are “free,” and some walls are “constrained.” If you identify the constrained faces early, you design around them instead of fighting them later.
Where It Shows Up In Real Custom Home Decisions
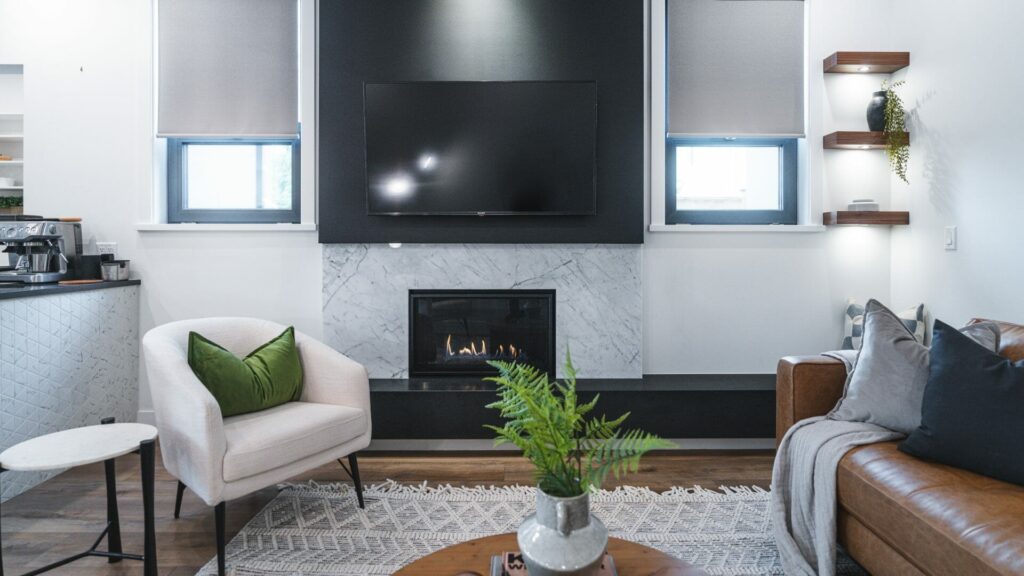
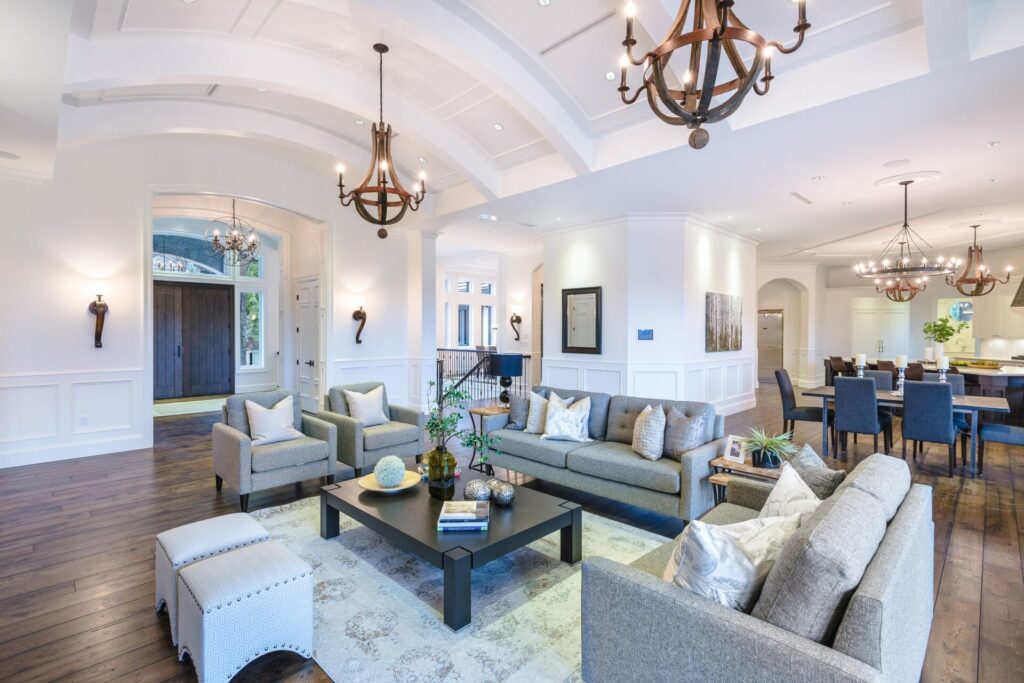
Spatial separation shows up where most custom home value lives: windows, doors, and outdoor connection. It’s common on narrow lots and on side-yard elevations where you want daylight but don’t have much distance to the line.
It also shows up on garage faces and on secondary buildings like laneways or detached garages. If two buildings sit closer than you assumed, the wall requirements can shift quickly.
This is why “we’ll decide windows later” is risky on tight sites. Once the geometry is set, spatial separation can force window reductions that change both the exterior look and the interior feel.
The 3 Inputs That Drive Most Outcomes

Most fire separation and exposure challenges are not driven by dozens of rules. They usually come down to a small set of inputs that quietly control everything else.
Limiting Distance
Limiting distance is essentially how close that wall is to a property line, measured in a specific way under the Code. You can think of it as the “risk distance” that determines how strict the wall and opening limits become.
The catch is that you cannot eyeball this reliably from a photo or a quick site visit. Fences, hedges, and landscaping are not legal boundaries. You need a real site plan and real property information before you assume a wall is “far enough.”
If you’re designing on a tight lot, this is one of the first questions to answer because it dictates how much design freedom you have on each face.
Exposing Building Face
An exposing building face is the exterior wall area the Code evaluates for fire exposure. In homeowner terms, it’s the “side” of the house you’re trying to build close to something else.
This matters because the rules are applied by face, not by your favourite rendering. You can’t “average out” a risky wall by having lots of glass elsewhere. Each face has its own exposure context.
This is also why a small bump-out or projection can complicate things. You may feel like you changed nothing, but you changed the geometry of the exposing face.
Unprotected Openings
Most of the pain comes from openings, because openings are the weak points in a wall’s fire resistance. Windows and doors are where heat can break through, and where flames can project outward.
In plain language, the closer the wall is to the line, the more the Code tends to restrict how much open area you can have on that face, unless the openings or assemblies meet specific performance criteria.
You don’t need to memorize the tables to make good decisions. You do need to recognize that “more side windows” can become a compliance issue long before it becomes a design preference.
What Counts As An “Opening” And What Doesn’t

When people hear the word opening, they often assume it only applies to obvious windows or doors. In reality, the Code looks at openings more broadly, and that distinction can affect design decisions much earlier than most homeowners expect.
Openings That Usually Count
For homeowner planning, assume that windows and glazed doors count. Large sliding doors count. Full-height glazing counts. Anything that is essentially a hole in the wall with glass in it should be treated as an opening for spatial separation thinking.
Even if your team later classifies something differently under the Code, this conservative mindset keeps you safe during early design. It stops you from building your entire layout around a wall of glass that might not survive permit review.
If the wall is close to the line, treat it like a constrained face until proven otherwise.
“Protected” Vs “Unprotected”
“Protected” versus “unprotected” is code language that affects how much opening area may be allowed. In homeowner terms, “protected” generally means the opening or the assembly has added fire performance, and “unprotected” means it does not.
The important part is not the label. It’s the design implication. If you want lots of glazing on a constrained face, you may be pushed into different construction choices, different window strategies, or different placement.
That’s also where budgets get real. “Fixing it” might mean changing design intent, or it might mean paying for higher-performance solutions. Either way, you want that conversation early, not after drawings are “final.”
How Spatial Separation Changes Your Design
Spatial separation does not just affect compliance. It quietly shapes how a home is laid out, how light enters the space, and how the exterior is assembled.
Window Planning On Tight Side Yards
On tight side yards, spatial separation often pushes you toward fewer, smaller, or differently placed windows on that wall. That can feel like a design loss, but it doesn’t have to be. The best homes don’t rely on one risky wall for all their daylight.
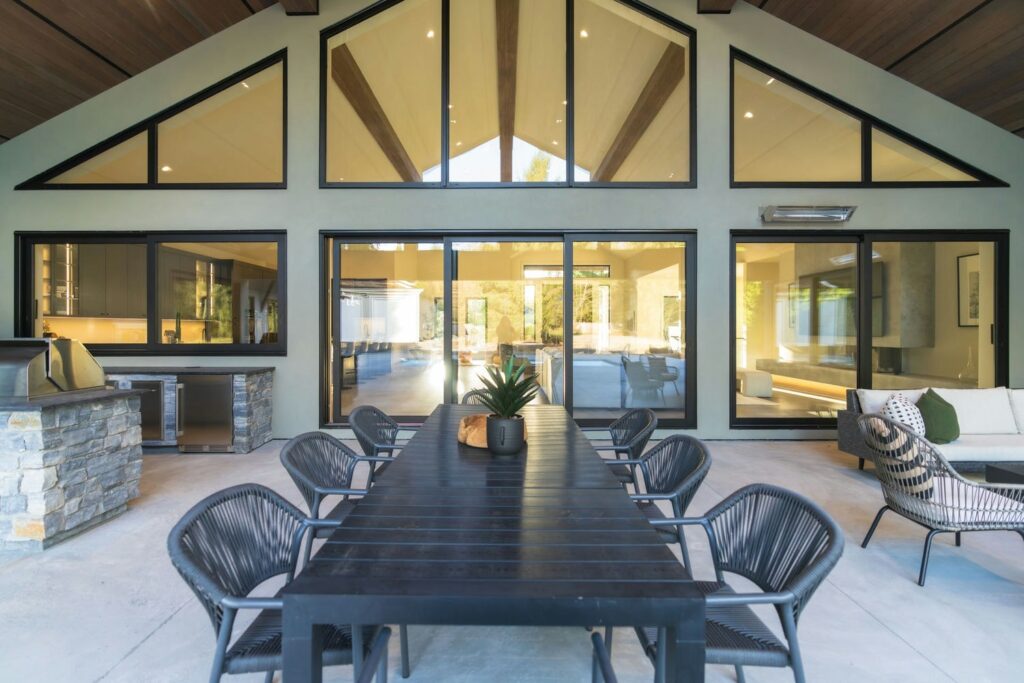
A smarter approach is to shift daylighting to faces that can actually support it. Rear-yard glazing, courtyard concepts, higher windows, and better room placement can all deliver bright interiors without betting the farm on a constrained face.
If you want a practical way to think about glazing and light without overdoing glass, our window-to-wall ratio guide breaks down what “good daylight” really means.
Exterior Wall Build-Ups And Cladding Choices
Spatial separation can also influence the wall itself. If a face is constrained, the wall assembly and exterior finishes may need to meet specific fire performance expectations for that exposure condition.
This matters because it’s not just “a code note.” It can affect thickness, detailing, interfaces at windows, and sometimes the cladding system approach. Those changes ripple into cost and sequencing.
Here’s the catch: if you ignore it early, you often pay twice. Once for the design you wanted, and again for the redesign you didn’t plan.
Projections And Geometry That Catch People Off Guard
Small geometry decisions can create big spatial separation consequences. A bump-out for a breakfast nook. A covered side entry. A garage that creeps closer to the line to improve backyard space.
Those moves can change the effective exposure of a face, change where windows are allowed, or change what the wall needs to be. On tight sites, “minor” massing changes are rarely minor.
This is why we prefer to solve spatial separation at the massing stage. If the massing works with the Code, the rest of the design is calmer.
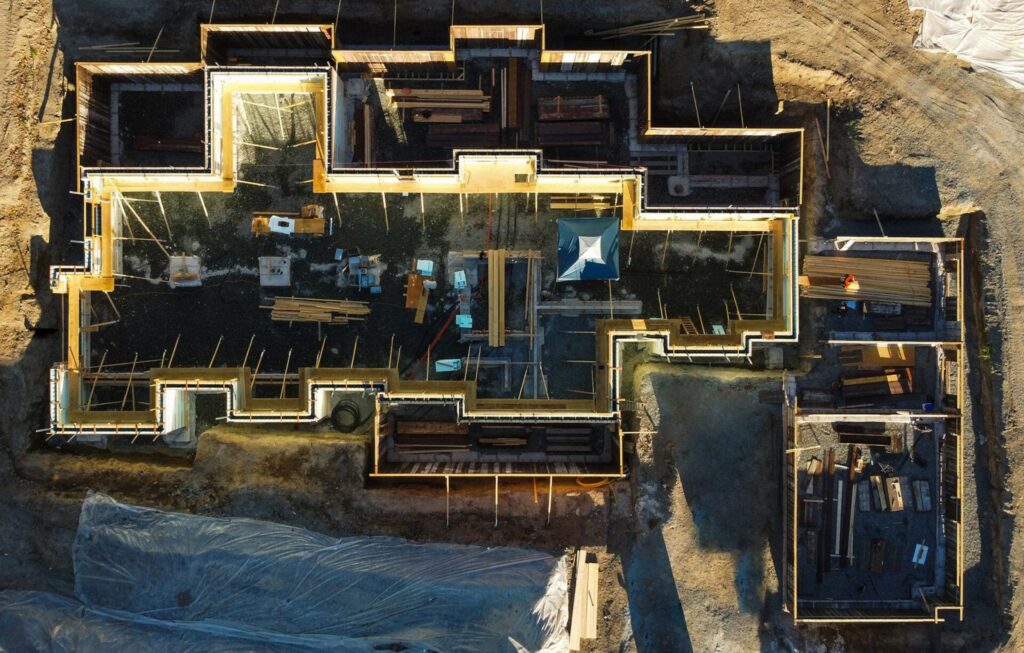
A Simple Early-Design Workflow To Avoid Permit Surprises

Most permit issues around spatial separation are not caused by bad design. They come from skipping a few early checks and making assumptions too soon. This simple workflow helps you surface the real constraints early, when decisions are still flexible and course corrections are inexpensive.
Step 1: Confirm Property Lines And Site Constraints
Before you debate windows, confirm the facts. Property lines are not where a fence happens to sit. Your design team needs reliable information to understand which walls are truly close, and which only feel close.
If your project has an existing house, garage, or laneway, those conditions also matter. Spatial separation is about relationships between faces and exposures, so existing site context matters early.
This one step prevents a lot of false confidence.
Step 2: Mark The “Close Walls” On Your Concept Plan
Once you know where the constraints likely are, mark the “close walls” on the plan and treat them as controlled faces. That means you design those walls with intent instead of designing freely and then clawing back later.
This is also where you decide what those faces should do. Do they need privacy. Do they need light. Are they mostly service spaces like stairs and bathrooms. Each decision changes what openings you actually need.
When you design close walls strategically, you stop treating code as a surprise attack.
Step 3: Rough-In Window Strategy Before You Fall In Love With A Rendering
Renderings are seductive. They also lock people emotionally into choices that may not be buildable as drawn. The way to avoid that is to rough-in your window strategy early, based on the faces that can support it.
You’re not finalizing a window schedule at this point. You’re deciding where the big daylight moves happen, and where the controlled moves happen. That keeps your interior planning honest.
If a constrained wall needs light, use smarter placement, not bigger glazing.
Step 4: Ask For A Spatial Separation Check Before Permit Drawings Are “Done”
This is the moment that saves the most time. Before the permit set is packaged, ask your team to confirm spatial separation assumptions and ensure the elevations still comply with the exposure realities of the site.
When you do this early enough, changes are still cheap. When you do it late, changes trigger coordination across multiple sheets and multiple consultants.
If you want a homeowner-friendly checklist for reviewing drawings and catching mismatches, use this guide before you sign off.
Step 5: Ensure Your Permit Set Clearly Shows The Needed Information
Even if your design direction is solid, permits get stuck when drawings are unclear. The permit set should clearly communicate the wall intent, window locations, and what’s being built where. Reviewers should not have to guess.
This is why we push for coordinated, complete documentation. It reduces back-and-forth and prevents “one change triggering five revisions.”
If you want to understand what a complete submission-ready set looks like, this permit drawing set guide is a strong reference.
Common Situations And Typical Design Impacts
This table is not a substitute for your code review. It’s a planning tool. It helps you spot where spatial separation tends to bite so you can design around it early.
| Site Condition | What Usually Gets Constrained | Smart Design Moves |
| Tight Side Yard Wall | Window quantity and size on that face | Shift daylight to rear/courtyard, use higher windows, relocate key rooms |
| Garage Face Near A Line | Openings and wall performance expectations | Reduce openings, simplify geometry, confirm early assembly intent |
| Laneway Or Secondary Building Nearby | Exposure between buildings | Adjust placement, manage facing openings, document clearly |
| Big Glazing Concept On One Elevation | Unprotected opening limits | Spread glazing to safer faces, design shading and privacy intentionally |
If you treat constrained faces as “controlled” from day one, you avoid most late surprises. If you treat them as “free,” you usually pay in redesign.
Common Mistakes That Cause Redesign And Delays

Most redesigns caused by spatial separation are avoidable. They usually happen when decisions are made in the wrong order or when code realities are treated as an afterthought instead of a design input.
Designing The Windows First, Then Checking Compliance
This is the most common error. People design the look, then discover the look conflicts with spatial separation, then scramble to preserve the look with costly or awkward changes.
If your lot is tight, the exterior glazing strategy is not a styling decision. It’s a constraint-driven design problem. Solve it early and you keep control.
Solve it late and you accept compromises.
Assuming “Side Yard Windows Are Fine Because It’s Residential”
Residential does not mean unlimited openings. Spatial separation applies precisely because residential neighbourhoods have buildings close to each other. Tight side yards, close garages, and nearby secondary buildings are normal conditions, so the Code anticipates them.
This is why “my neighbour has windows there” is not a design method. Their site geometry, their permit history, and their specific details may be different than yours.
Your house needs to be defensible on your lot, under current review standards.
Treating It As A Drafting Fix Instead Of A Design Constraint
A drafting fix is moving a window. A design constraint is changing how the home gets light, views, and privacy while still meeting site realities.
If you treat spatial separation as a drafting problem, you end up with weird elevations and compromised rooms. If you treat it as a design constraint early, you can still land a strong home that feels intentional.
This is one of those moments where discipline looks like creativity.
When To Resolve Spatial Separation In The Design Process
Spatial separation is not something to solve once and forget. It needs to be checked at the right moments in the design process, when decisions still have leverage and changes do not unravel everything else.
Do The First Check In Feasibility / Early Concepting
Your first spatial separation check should happen before you lock massing and before you commit to a window strategy. This is where the highest-leverage decisions live: building placement, garage position, laneway positioning, and which faces are “glass-heavy” versus “controlled.”
In feasibility, you’re not chasing perfect answers. You’re identifying risk. That alone prevents the most expensive type of redesign: changing the whole concept after the concept is loved.
Early clarity keeps your design honest.
Lock The Strategy In Design Development
Design development is where your spatial separation strategy should become stable. By this stage, the elevation intent, window locations, and overall geometry should align with site constraints so the permit set is documenting decisions, not discovering them.
This is also where you coordinate the architecture with structure and envelope intent. If you lock the strategy here, you protect your pricing and your schedule later.
If you want a clear breakdown of what gets resolved at each phase, this guide outlines the sequencing.
What To Ask Your Designer Or Builder
Ask these before you approve drawings, and especially before you submit for permits:
- Which walls are closest to the property line, and which are the “constrained faces”?
- Which elevations are driving our spatial separation risk, and why?
- If we have to reduce openings, what’s our plan to protect daylight and privacy?
- Do any projections, bump-outs, or garage placements make compliance harder than it needs to be?
- Are we documenting the intent clearly enough that a reviewer won’t have to guess?
- What is the simplest design move that reduces constraint without killing the plan?
These questions don’t make you difficult. They make you expensive-proof.
Where To Verify The Official Wording
This article is a plain-English guide, not legal or code consulting advice. Your Authority Having Jurisdiction (AHJ) has the final say, and project-specific conditions matter. If you want to verify the exact terms and tables, start with the BC government’s Building Codes and Standards portal and follow through to the current BC Building Code materials.
The goal is not to become your own code consultant. The goal is to understand enough to ask the right questions early, so your team can solve it cleanly.
How Versa Homes Helps You Design Around These Constraints
Spatial separation is the kind of issue that punishes late decisions. We treat it as a feasibility and early design checkpoint so you don’t spend weeks refining an elevation that can’t be approved as drawn.
Once scope is defined, we use a fixed-price contract model so you’re not guessing where costs will land. We also run a detailed build schedule with pre-booked trades to reduce timeline drift, especially when permitting and documentation are involved.
During construction, you get a client portal with daily logs and progress photos, so you don’t have to chase updates. And we back our builds with Versa Shield warranty coverage, because durability and peace of mind are part of the product.
Get Ahead Of Spatial Separation Early
If you’re early in design and your lot is tight, don’t wait for the permit reviewer to teach you spatial separation. Solve it before you lock windows and elevations, and you’ll protect both the design and the timeline. If you want help coordinating these constraints as part of a buildable custom home plan, start with our custom home architectural design services.
Frequently Asked Questions
What Is Spatial Separation In BCBC Part 9?
Spatial separation is a life-safety concept in BCBC Part 9 that limits openings and influences exterior wall requirements when a wall is close to a property line or another building. The closer the exposure, the more constrained that face tends to become.
Why Does Spatial Separation Limit Windows Near A Property Line?
Windows and doors are weak points in a wall’s fire resistance. When a wall is close to a line or nearby building, the Code aims to reduce the chance fire spreads outward through openings to neighbouring exposures.
What Is “Limiting Distance” In Plain English?
Limiting distance is the effective distance from an exterior wall to the property line or exposure context used in spatial separation evaluation. It’s the distance that drives how strict the opening and wall limits may be for that face.
What Counts As An Unprotected Opening In A House?
In homeowner terms, assume most windows and glazed doors count as openings. “Unprotected” generally refers to openings that do not have added fire performance characteristics required in certain exposure situations.
Can I Still Get Good Daylight If One Side Of My Home Needs Fewer Windows?
Yes. The best approach is to shift daylight to safer faces of the home and use smarter placement, higher windows, courtyards, and better room layout. You can also balance glazing across elevations instead of relying on one constrained wall.
When Should Spatial Separation Be Checked During Design?
Do an early check during feasibility or concepting, before you commit to massing and window strategy. Then lock the strategy in design development so the permit set documents a compliant, buildable design.
Does A Garage Or Laneway Building Change Spatial Separation Requirements?
It can. Garages and secondary buildings change exposure relationships on a site. If buildings are close to each other, the wall requirements and opening constraints may shift, and you want that understood early.
What Should Be Shown On Drawings So Permits Don’t Get Stuck?
Drawings should clearly show building placement, elevations, window locations, and enough information that reviewers don’t have to guess. Consistency across plans, elevations, and sections reduces review comments and resubmissions.


Felipe Freig
Founder of Versa Homes
Felipe Freig is the founder of Versa Homes, a Vancouver custom home builder known for architecturally driven, fixed-price projects. With years of hands-on site experience and deep permitting and by-law knowledge, Felipe leads high-performance teams that deliver precision craftsmanship, clear budgets, and on-schedule luxury homes.
You May Also Like...
Bearing the Weight: The Crucial Role of Foundation Walls in Your Home

What to Ask a Custom Home Builder Before You Hire Them
5 Luxurious Custom Home Features to Elevate Your Lifestyle
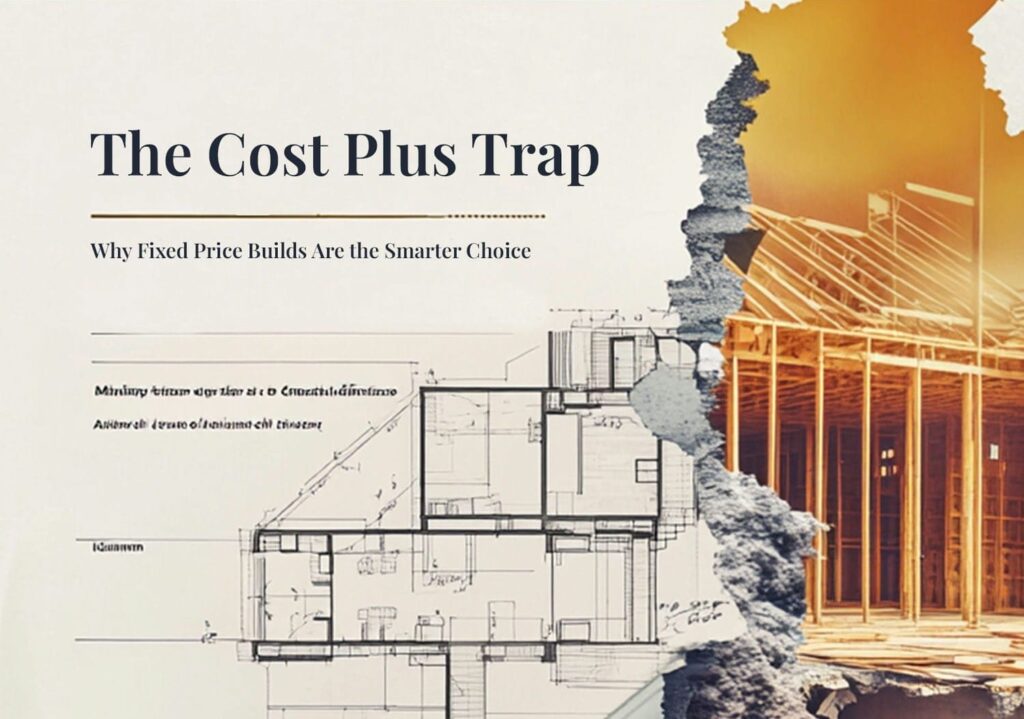
Exposing the Truth About Cost-Plus Contracts in Custom Home Building

Beyond The Story Podcast: Talking Custom Homes, Risk, And Starting From Nothing
12 Unique Features to Include in Your Custom Home Build in 2025

Building Resilience: Versa Homes’ Comprehensive Guide to Earthquake-Proofing Your Custom Home
The Ultimate Guide to Choosing the Right Windows for Your Custom Home