
Thermal bridging is what happens when heat finds an easy shortcut through your walls, floors, or roof, usually through framing, steel, or concrete. In custom homes, the biggest thermal bridging problems do not show up in the middle of a wall. They show up at the junctions, where multiple trades meet and details get rushed. If you want the fix to be predictable, you need the right details baked into your custom home architectural design early, not patched in later.
Here’s the catch: you can spend more on insulation and still end up with cold corners, condensation-prone window areas, and comfort complaints. That’s because thermal bridging is less about “more R-value” and more about whether your insulation stays continuous at transitions.
This guide keeps it practical. You’ll learn where thermal bridges hide, what your drawings must show, and what to look for before you go to permit or pricing.
Thermal Bridging In Plain English

What A Thermal Bridge Is
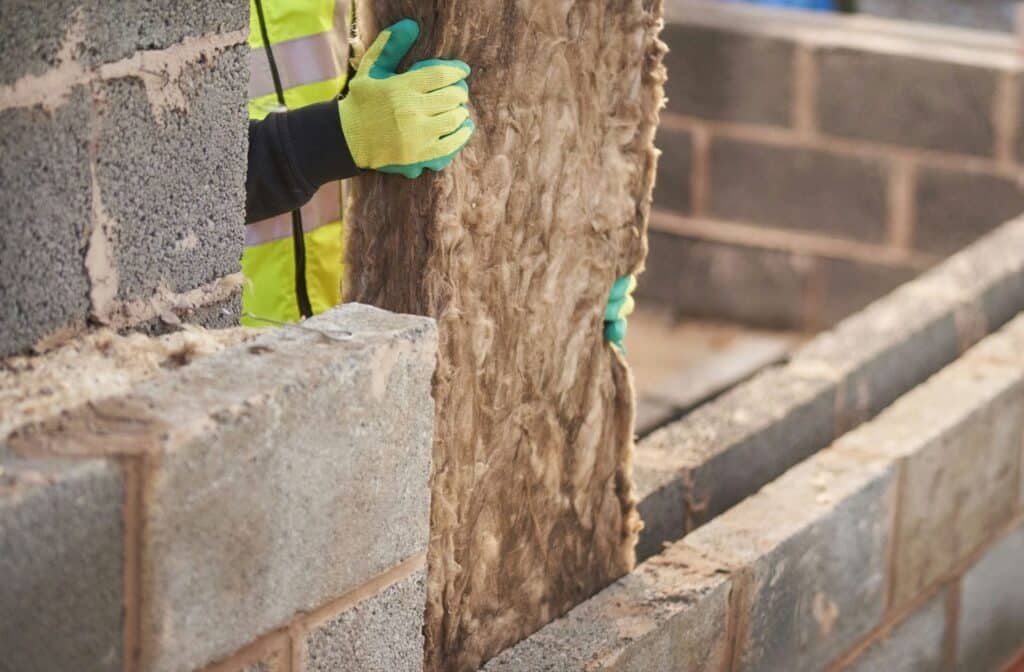
A thermal bridge is a spot where a conductive material creates a shortcut for heat to pass through your building envelope, bypassing insulation. That shortcut can be a piece of wood framing, a steel beam, a concrete slab edge, or even metal flashing that connects inside to outside.
Think of insulation like a winter jacket. If the zipper is open, your jacket can still be thick, but you will still feel cold. Thermal bridging is the “open zipper” problem, just distributed across the building.
If you can’t trace a continuous insulation layer around the house in your details, you should assume you have thermal bridging risk.
Why It Matters In Real Life (Not Just Energy Modelling)
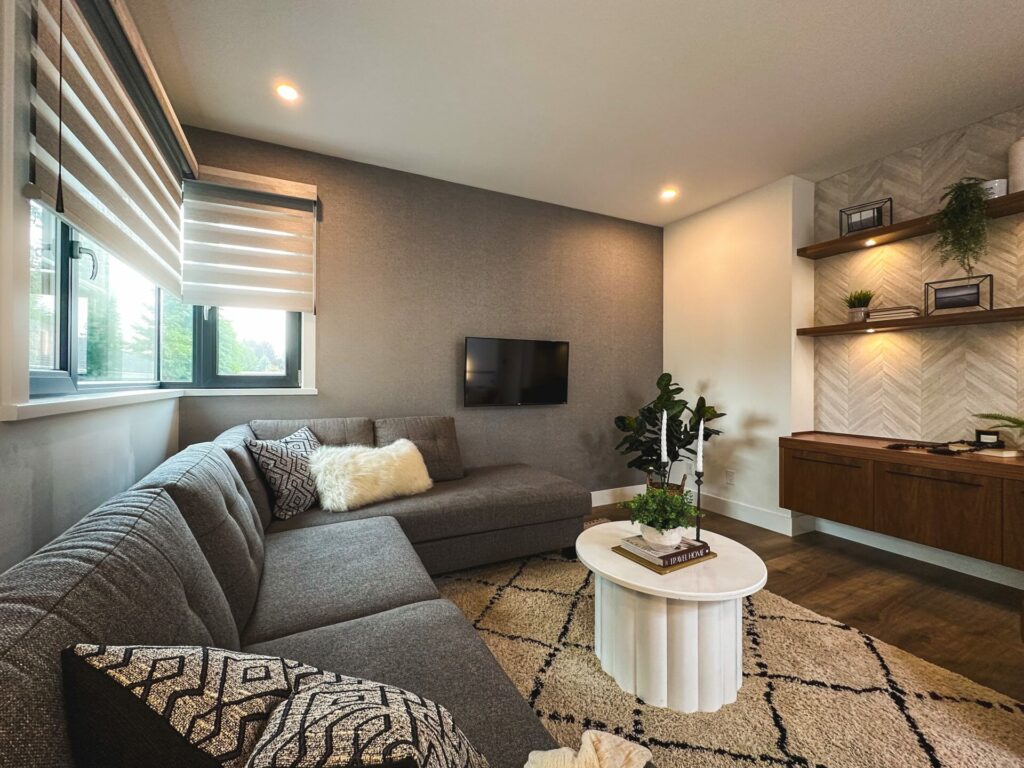
Thermal bridging shows up as comfort problems first. You feel it as cold floors near exterior walls, chilly corners, or a “radiant cold” feeling when you sit near glass. Even when the thermostat is set correctly, the room can feel off.
It also shows up as durability risk. Cold surfaces increase condensation potential, especially around window perimeters and at roof-to-wall transitions. If moisture repeatedly condenses inside assemblies, the long-term risk is mould and material degradation.
Finally, it shows up as cost. Fixing thermal bridging late usually means touching structure, envelope detailing, and finishes. That is expensive work to redo, and it almost always slows the schedule.
The Real Problem: Junctions And Penetrations, Not The Middle Of The Wall
Where Thermal Bridges Hide In Custom Homes
Most thermal bridges happen where your envelope changes direction or gets interrupted. Slab edges, rim joists, balconies, window openings, parapets, and service penetrations are the repeat offenders. These are also the areas where drawings can be vague, and trades “figure it out” in the field.
Custom homes often add more risk because they include more geometry. More corners, more overhangs, more large openings, and more architectural features create more junctions. Junctions create more opportunities for thermal shortcuts.
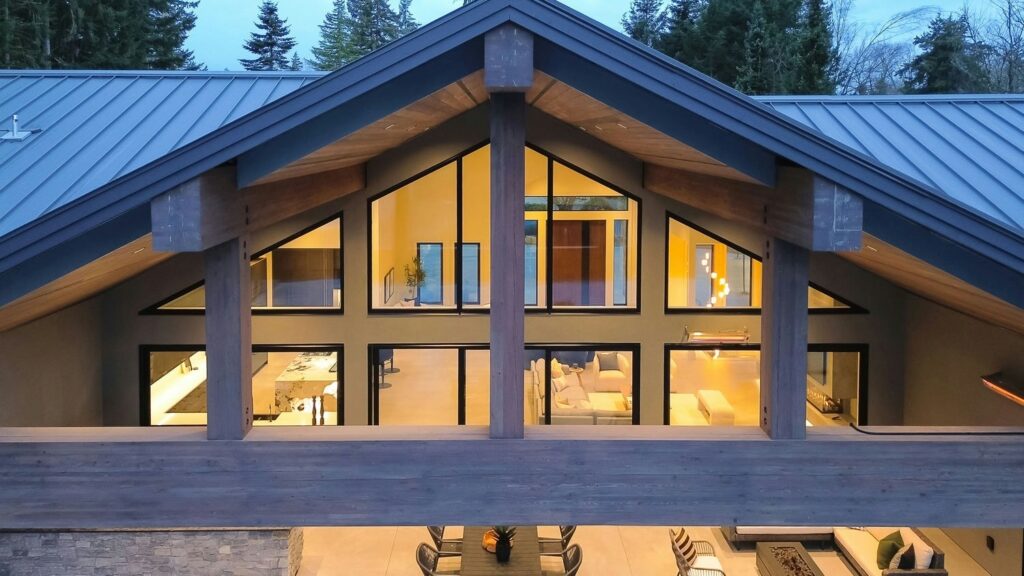
If your project has big glazing, cantilevers, or complex roof forms, you should assume junction detailing matters more, not less.
Why “Add More Insulation” Doesn’t Automatically Fix It
Adding more insulation helps in the clear wall area. It does not automatically fix a thermal bridge caused by framing members, steel elements, or concrete that connects inside to outside. That conductive path still exists, and it still moves heat.
This is why high-performance homes obsess over continuity. Your insulation layer needs to connect like a continuous loop. If it looks more like a patchwork quilt in your sections, it will perform like one.
The right question is not “What’s the R-value in the wall.” The right question is “Does the insulation stay continuous at every transition.”
The 7 Details Your Drawings Must Show
Detail 1: Slab Edge And Foundation-to-Wall Transition
Slab edges are a classic thermal bridge because concrete is conductive and the edge often sits close to exterior conditions. If that edge is not insulated properly, you can end up with cold floors at the perimeter and comfort issues that never really go away.
This detail is also where water management and durability live. Grade, cladding clearance, and moisture exposure all collide at the foundation line, which is exactly why it needs to be drawn clearly.
Your drawings should show how insulation continues from foundation to wall, how it is protected above grade, and how finishes maintain the required clearances. If the detail is only a note, you are asking the trades to invent the solution on site.
Detail 2: Rim Joist / Floor-to-Wall Connection
Rim joists and band areas are small, but they carry oversized risk. These areas often get crowded with structure, fasteners, blocking, and mechanical routes. That crowding makes it easy to compress insulation, miss air sealing, or leave gaps.
The problem is not just heat loss. The problem is cold surfaces and air leakage working together. That combination can make the band area a condensation risk in the wrong conditions.
Your drawings should show the insulation strategy at the rim, the air barrier line, and how services avoid cutting through it. If your details do not clearly show continuity at floor lines, you will pay for it in comfort and troubleshooting later.
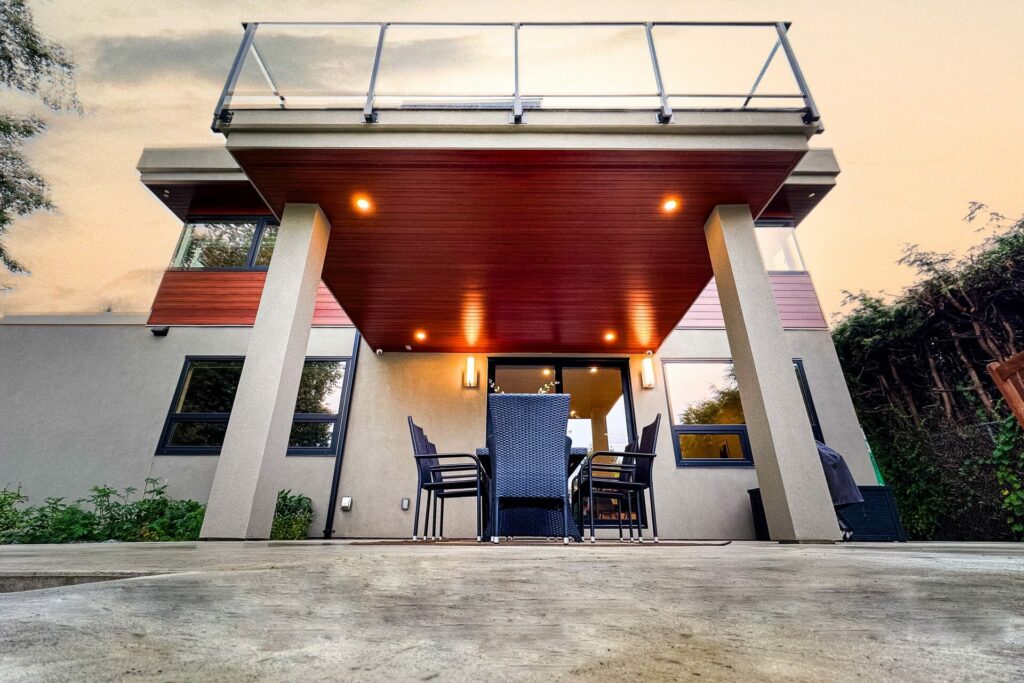
Detail 3: Balcony, Deck, And Cantilever Conditions
Cantilevers and balconies are thermal bridging magnets because structure often passes through the insulation plane. When a floor system projects outward, it can drag heat along with it and create cold interior zones near the transition.
This is also where “looks cool” can become “feels cold.” A dramatic cantilever might be worth it, but it needs a strategy that protects the interior conditions. Without that strategy, you can end up with cold floors, cold corners, and condensation risk near large doors.
Your drawings should show whether the balcony is structurally separated, thermally broken, or detailed in a way that maintains insulation continuity. If the only plan is “insulate more,” you do not have a plan yet.
Detail 4: Window And Door Openings (The Big One)
Window openings are where homeowners most often feel thermal bridging. It shows up as cold drafts, cold surfaces at the perimeter, and condensation along the frame or returns. The risk gets bigger when windows are large or when the window placement is misaligned with the insulation layer.
A common failure is pushing the window too far inboard or outboard without a clear install detail. That can leave exposed framing and awkward perimeter insulation, which creates a colder surface right where you live.
Your drawings should show where the window sits relative to the insulation plane, how the rough opening is insulated, and how flashing does not create a conductive bypass. If you want consistent comfort, “window details” cannot be a generic afterthought.
Detail 5: Roof-to-Wall And Parapet Transitions
Roof-to-wall transitions are where insulation continuity often breaks down because geometry changes fast. Eaves, parapets, and overhangs can force tight framing zones that are hard to insulate and air seal properly.
This is also a common spot for “mystery bulkheads” inside. If you do not control the roof and wall transition, the interior ceiling line often pays the price, and you end up with awkward drops or cold bands.
Your drawings should show a continuous insulation path through the roof-to-wall junction, and a clear air barrier line that does not disappear at the eave. If your detail cannot show continuity, it will not be continuous in the field.
Detail 6: Structural Steel Or Posts Embedded In The Envelope
Steel is strong, but it is also highly conductive. When steel posts or beams pass through the envelope, they can act like heat highways. Even small embedded elements can create cold spots and condensation-prone surfaces if they connect inside to outside.
This problem often appears in modern designs with large openings, long spans, or minimalist structure. The architecture can still work, but the detail must acknowledge the thermal reality.
Your drawings should show how steel is isolated from exterior conditions where possible, and how any unavoidable connections are handled with a clear strategy. If structure and envelope detailing are not coordinated early, you will end up redesigning late.
Detail 7: Penetrations (Vents, Hose Bibs, Meter Bases, Linesets)
Penetrations are small, repetitive, and easy to underestimate. Every vent, hose bib, electrical penetration, and heat pump lineset is another interruption in your insulation and air barrier layers. Enough small holes become a big performance problem.
The risk is not just air leakage. It is the combination of air leakage and cold surfaces around penetrations. That combination can create localized condensation risk and long-term durability issues.
Your drawings should include a penetration strategy, including typical details for sealing and insulating around common penetrations. “Seal all penetrations” is not a strategy. It is a wish.
What To Look For When You Review Your Drawing Set
The “Continuity Line” Check (Insulation + Air Barrier)
The simplest homeowner-level review is to trace two lines in your details: the insulation line and the air barrier line. You should be able to follow each line continuously around the building, through corners and transitions, without disappearing into vague notes.
When the line breaks, ask why. Sometimes it breaks for a good reason, like a deliberate design choice that is handled with another strategy. More often, it breaks because no one has drawn the transition yet.
If you want a structured way to review your drawings without missing the high-risk gaps, use a checklist-driven method before you go to permit or pricing.
Coordination Between Architectural, Structural, And Mechanical
Thermal bridging is often a coordination failure, not a product failure. Architecture wants clean lines. Structure wants strength and direct load paths. Mechanical wants routes and penetrations. The envelope needs continuity across all of it.
If those teams are not aligned, the envelope becomes a battlefield of last-minute compromises. That is when you see unnecessary steel penetrations, sloppy band area insulation, and random cut-throughs for services.
A coordinated set forces decisions early. It also prevents the common pattern where the architect draws a detail, the engineer changes a beam, and suddenly the “thermal strategy” no longer exists.
When These Details Should Be Resolved In The Design Process
Why Schematic Design Is Too Early For Final Details (But Not Too Early For Strategy)
Schematic design is the right time to choose an envelope strategy and make massing decisions that support continuity. It is not the time to pretend you have final buildable junction details. However, it is absolutely the time to avoid designs that make continuity impossible.
This is where smarter design choices save you money. Simple, well-aligned geometry often performs better than complex shapes that require heroic detailing. You can still build an architectural home, but you should not build an envelope that fights itself.
If you want a clear breakdown of what should be decided at each stage, this architectural design phase guide will keep your expectations realistic and your decisions timed correctly.
Why Design Development Is Where Thermal Bridging Gets Locked
Design development is where thermal bridging mitigation gets real. Window placement becomes precise. Structure and envelope align. Junction details start to reflect what will actually be built, not what looks good in a concept set.
This is also the moment to reduce rework. If you lock the thermal strategy in design development, you avoid changing windows, roofs, and structural transitions during permit or construction. Late changes cost more and break coordination.
If you are unsure what changes between schematic design and design development, this comparison helps you understand why the “detail work” belongs in the right phase.
Permits And Performance: Why Missing Details Create Delays

The Hidden Cost Of “We’ll Figure It Out On Site”
“We’ll figure it out on site” sounds flexible. In practice, it creates RFIs, delays, and patchwork solutions. Thermal bridging details are not isolated. They touch waterproofing, structure, cladding clearances, and interior finishes. Once framing is up, your options narrow fast.
The cost is not only in materials. It is in lost time and lost momentum. Fixing details late can trigger inspection complications and rework across multiple trades. That is how a small missing detail turns into a schedule problem.
If you want a predictable build, you want predictable decisions. Decisions live in drawings.
What A Permit-Ready Set Should Include At Minimum
A permit-ready set should include enough sections and details to clearly show how the building will be constructed. At minimum, that means key envelope junction details, window and door installation intent, and notes that eliminate guesswork at common transitions.
You do not need every finish selected to get a strong permit set. You do need a coordinated envelope story. If the envelope is still vague, your permit set becomes a moving target, and every revision cycle becomes slower. Check out our guide if you want a clear picture of what a complete submission-ready drawing package looks like.
A Government Reference Worth Bookmarking
If you want a BC-focused reference that shows common interface details and how practitioners document thermal bridging mitigation, the Building Envelope Thermal Bridging Guide is worth bookmarking. It is not a replacement for your project-specific design. It is a good reality check for whether your junctions are being treated seriously.
Use it the same way you would use a sample contract. You are not copying it blindly. You are checking whether your set includes the level of detail needed to avoid “field invention.”
How Versa Homes Helps You Get These Details Right
Thermal bridging needs to be resolved early. When insulation strategy and junction details are coordinated during design development, you avoid cold spots, condensation risk, and late-stage redesign that disrupt pricing and timelines. Versa Homes treats the building envelope as a design coordination issue, not a site fix, and locks critical junction decisions into the drawings before permits and pricing are finalized.
Predictable Pricing and Controlled Sequencing
Once scope is defined, we work under a fixed-price contract model that reduces budget ambiguity and aligns expectations. We also run a detailed build schedule with pre-booked trades, so envelope sequencing stays intact when key details are being executed. This approach keeps the build calm and prevents small technical issues from turning into schedule problems.
Transparency and Long-Term Accountability
During construction, you have 24/7 access to a client portal with daily logs and progress photos. That visibility matters most when envelope work is happening and details are getting covered up. We back our work with Versa Shield warranty coverage (3-6-11) because comfort and durability should extend well beyond move-in.
Start With the Right Design Decisions
If you are early in design, the smartest move is to choose an envelope strategy now and force the critical junctions onto the drawings before permits or pricing are locked. If you want thermal bridging addressed properly as part of your custom home design, start with our architectural design services.
Frequently Asked Questions
What Is Thermal Bridging In A Custom Home?
Thermal bridging is when heat bypasses insulation through a conductive material like framing, steel, or concrete. It usually happens at junctions and penetrations, not in the middle of a wall, and it can cause cold spots and condensation risk.
Where Are The Most Common Thermal Bridges In Wood-Frame Houses?
Common locations include slab edges, rim joists, window and door openings, roof-to-wall transitions, balconies or cantilevers, steel elements, and service penetrations like vents and hose bibs.
Does Thermal Bridging Cause Condensation Or Mould?
It can. Thermal bridging creates colder interior surfaces. Cold surfaces increase the chance of condensation under the right conditions. Repeated condensation inside assemblies increases mould and durability risk, especially if air leakage is also present.
What Drawing Details Reduce Thermal Bridging Around Windows?
Your drawings should show window placement relative to the insulation plane, perimeter insulation at the rough opening, and flashing that does not create a conductive bypass. A generic “typical window detail” often misses the project-specific risk points.
How Do Balconies And Cantilevers Create Thermal Bridges?
They often involve structure extending through the insulation plane. That extension can carry heat outward and create colder interior zones near the transition. The mitigation typically requires a clear structural and thermal strategy, not just thicker insulation.
Can You Fix Thermal Bridging After Permits Or During Construction?
Sometimes, but it is usually more expensive and less elegant. Late fixes can affect structure, waterproofing, cladding, and finishes. The lowest-risk approach is to resolve the junction details before permit submission and before construction starts.
How Can I Tell If My Drawings Show Continuous Insulation?
Trace the insulation and air barrier lines in your sections and details. If you cannot follow them continuously through key transitions, you likely have unresolved thermal bridging risk that needs design coordination.
Should My Builder Review Envelope Details Before I Submit For Permits?
Yes, if you want fewer surprises. A builder review helps catch missing scope and buildability issues, especially at junctions and penetrations. It is easier to resolve these on paper than in the field.


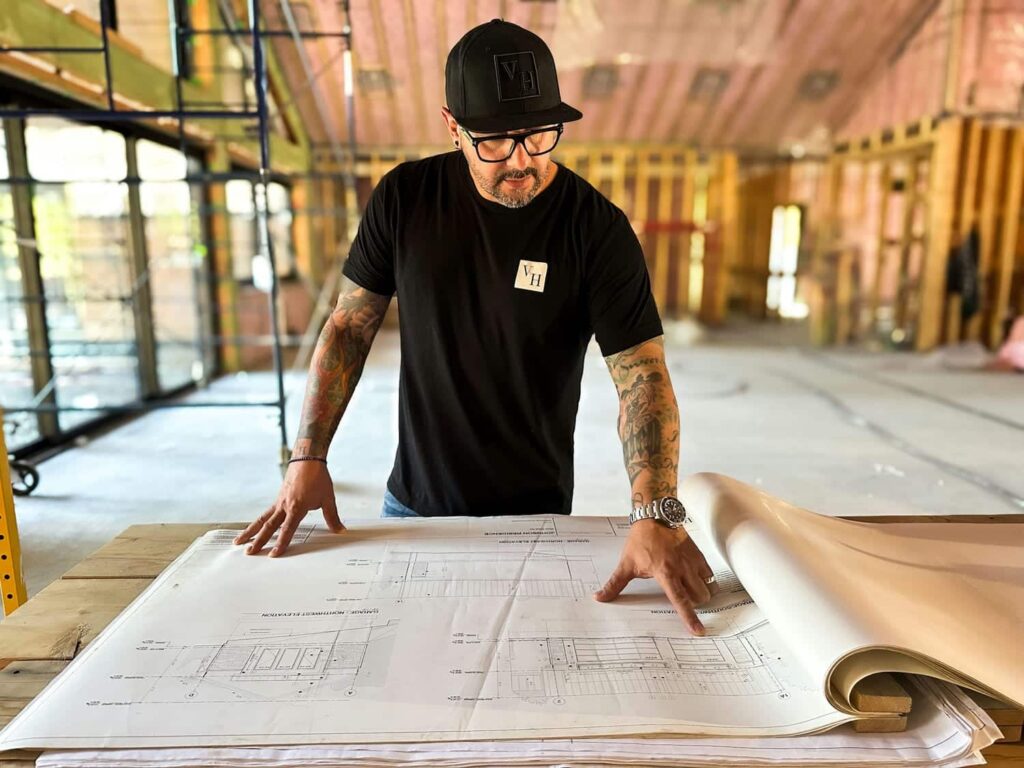
Felipe Freig
Founder of Versa Homes
Felipe Freig is the founder of Versa Homes, a Vancouver custom home builder known for architecturally driven, fixed-price projects. With years of hands-on site experience and deep permitting and by-law knowledge, Felipe leads high-performance teams that deliver precision craftsmanship, clear budgets, and on-schedule luxury homes.
You May Also Like...

How To Write A Clear Design Brief For Your Custom Home
Beyond Cooling and Heating: Unveiling the Secrets of Your Home’s HVAC System

Off-Market Lots In Greater Vancouver: How Discreet Lots Get Sold

Rainscreen Requirements For Coastal BC Homes: What To Plan For

Managing Client Changes During a Custom Home Build
The Role of an Interior Designer for Custom Home Building

The Cost of Building a Custom Home vs. a Spec Home

Burnaby Zoning Rules That Shape Custom Home Design
Building Safety from the Ground Up: 5 Tips to Build a Safer Home